Point of Sale Picture Import:
ASBWorks allows you to import student pictures to your point of sale application. This is accomplished through the steps below.
Point of Sale Picture requirements:
•The picture must be a jpg image
•Optimum image size is 250 x 337 (or similar ratio)
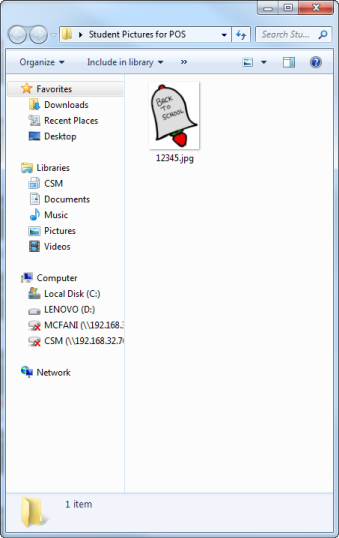
•Named using the student barcode (student ID number)
1. Either create a folder with all of your student pictures located inside of it, or use an existing folder. Please note that any picture/file not associated with students should be removed from this folder.
2. Open the POS icon from your desktop and Choose Set up OR go to your start menu and find the "CSM Point of Sale" folder. Select that folder, and then select "CSM Set up"
.jpg)
3. On the General Tab, click the Student Picture Import button.
.jpg)
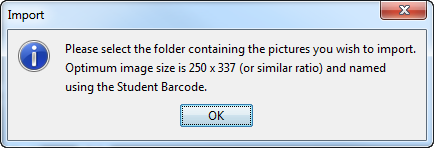
4. A dialog box listing the picture requirements should pop up on your screen. Select "OK"
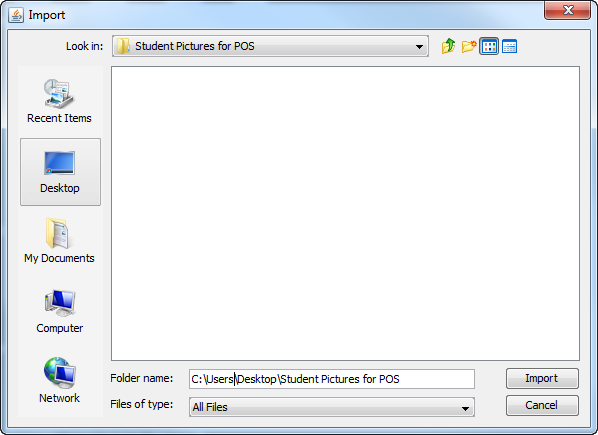
5. Locate the folder that you saved your student pictures inside, and select "Import". Note: This folder will only show other folders located inside. All pictures and files located inside of this folder will not appear. This will not affect your import.
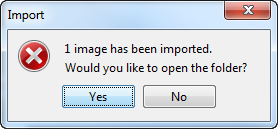
6. A dialog box informing you on the number of images imported will appear. It will also ask you if you would like to open the destination folder. The destination folder is where you will add future student pictures. Any picture added to this folder will automatically be imported into CSM Point of Sale.
Destination Folder:
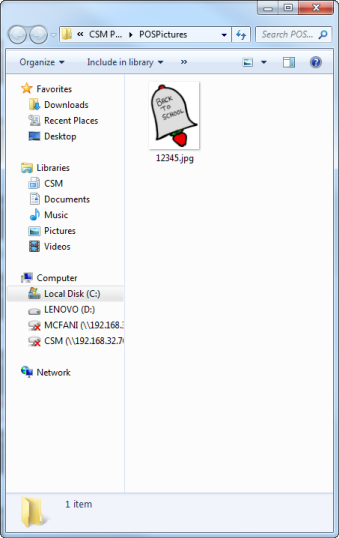
7. Open up CSM Point of Sale. To view the student picture, select "Received From" and type in the student ID number, or scan the ID card.

8. Press the "Enter" button on your keyboard. The picture will appear on the bottom right of the screen.
.png)
Copyright © 2010-2019 ASBWorks™